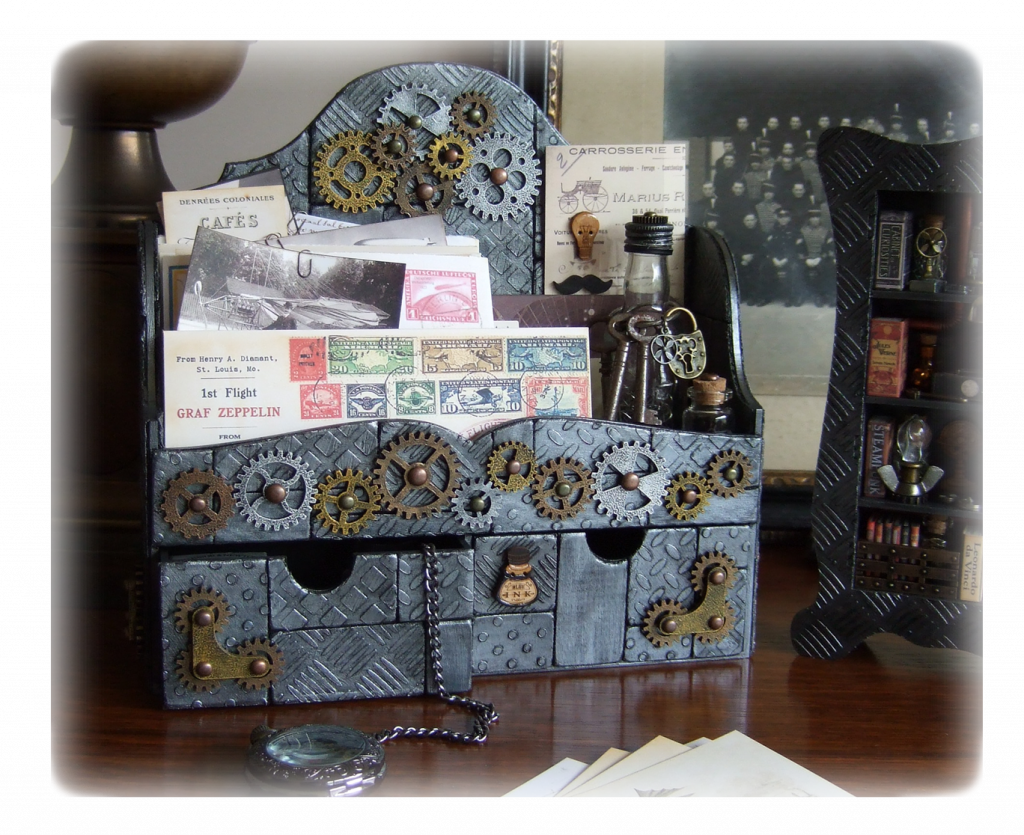
Steampunk Desk Organiser
I have always loved Steampunk Imagery and Ideas and have wanted to produce some Steampunk items for a long time. This has led to me producing numerous projects and a new Range of Steampunk Buttons!! I thought our NEW Organiser would be a good SP Project to start with and was simply made with some of our MDF Cogs Packs, the New Organiser and some old Wine Boxes !!! Yup I never throw anything out that I deem possibly useful (i.e., pretty much anything!!) I have always thought wine box cardboard was good and strong but not too thick and was therefore perfect for this :-).
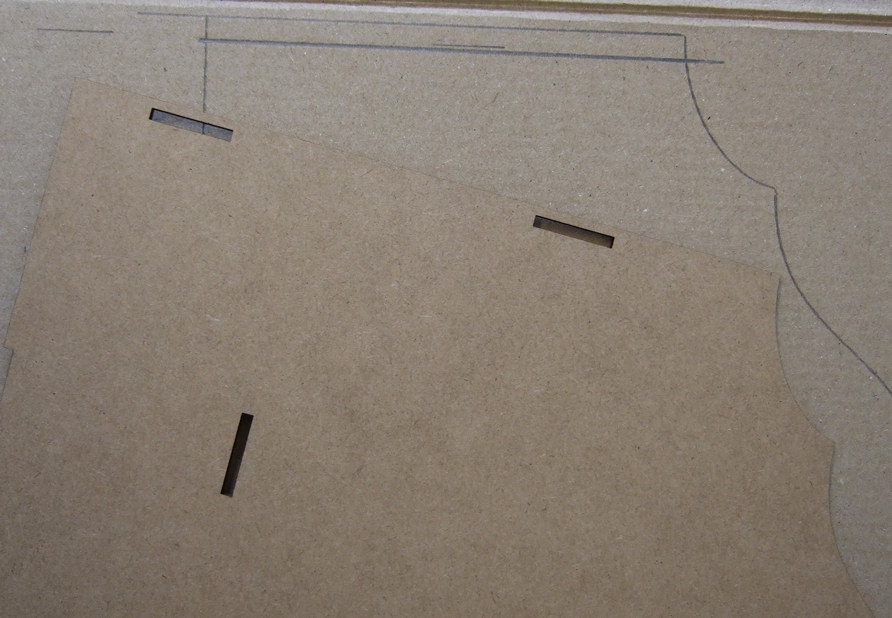
Before I assembled the Organiser I drew around the Back, twice, both sides, twice, then the draw fronts, and front panel above the draws directly onto the cardboard. Next assemble the cabinet. You will need to trim the inside pieces to length and around the front corners, using the assembled cabinet as a guide trimming to fit where required.
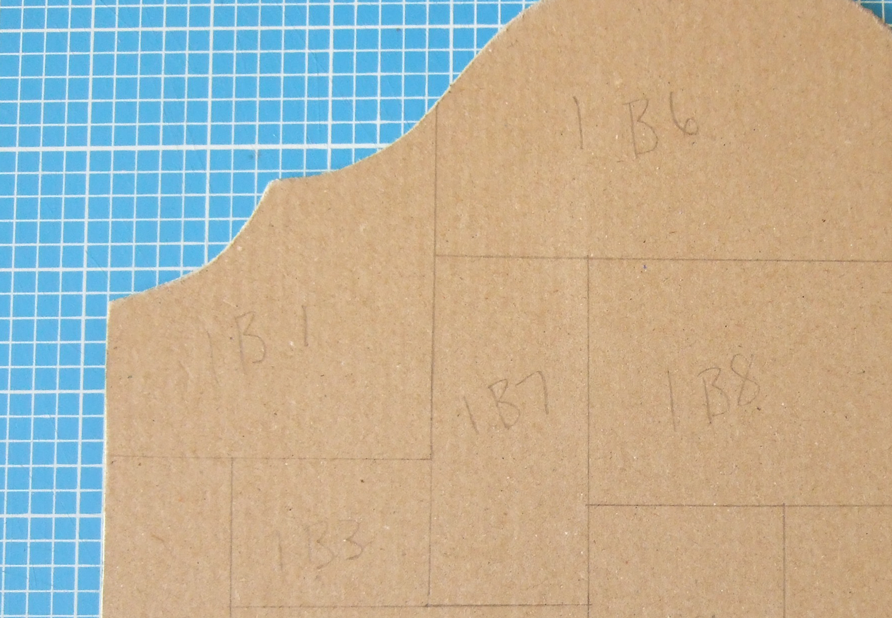
Next, using a ruler, I randomly drew lines allover the pieces, I numbered these before cutting up as I had loads of pieces! I then selected pieces to decorate with each of the 4 New Stencils in our NEW Metallic Value Pack!!! (some pieces I left plain). I then transferred all the numbers to the back of the pieces...... having realised I wouldn't be able to see the numbers after I'd put the paste on Doh!! I sanded the edges of the cardboard pieces off lightly so they would be rounded on the finished piece.
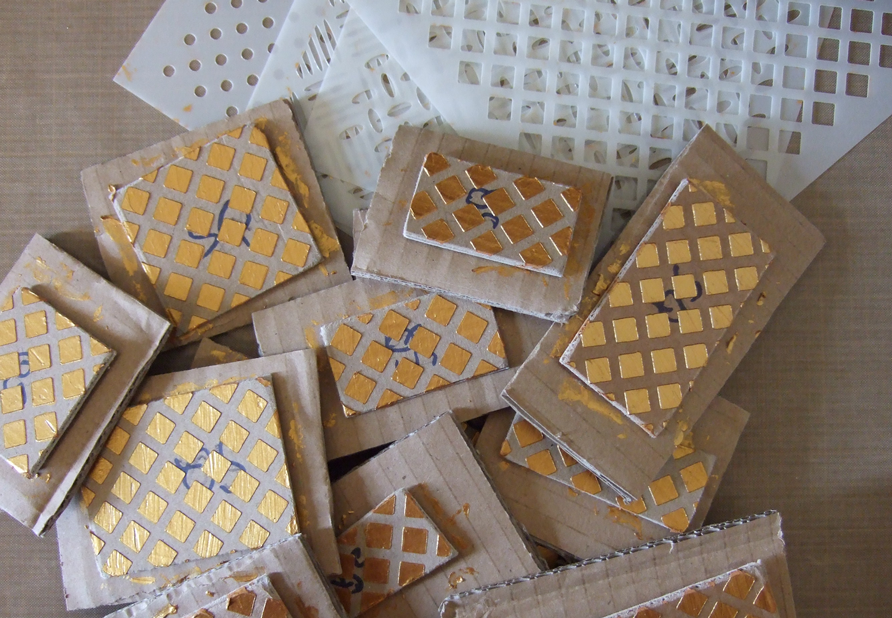
I gave the Organiser and all the pieces a coat of Black Acrylic before assembly as I thought it would be easier. Apply paint sparingly inside the cabinet and around draw sides and bottom so the draws still fit within the cabinet. I used a very wide flat sponge applicator to do this as this provided a good even thin coat. I then stuck all the pieces in place on the Organiser, some trimming may be required to fit the pieces internally. I measured the inside top space and cut one piece which I decorated with the "Spot" stencil to place inside. I now gave the entire outside a second coat of Acrylic and inside the top area.
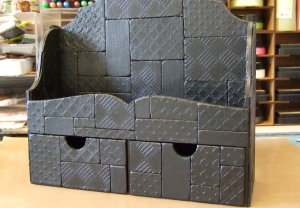
Once everything has dried start rubbing on Viva Inka Gold Paste: "Graphite" all over, build up the colour, especially on the raised areas. It's amazing how shiny and metallic this now looks :-)
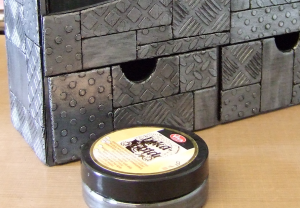
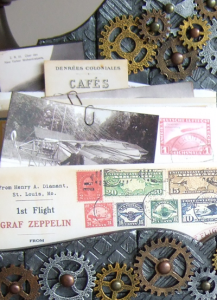
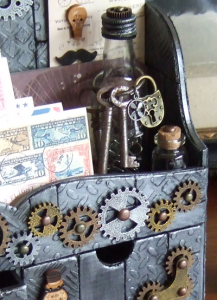
Once my Organiser was complete I thought it would be fun to fill it with lots of vintage style ephemera. I created an envelope template and constructed old style envelopes from vintage images. I also created various old pictures, and interesting bits and bobs! The small bottle was a small Drinks bottle my father received in a Xmas Box, he kindly let me have the bottle....... once it was empty :-/..... I sponged the lid with 2 coats of Black Acrylic and rubbed over Inka Gold "Silver" and Stuck a cog on the top and then the head of a Brad. The large Bottle is filled with paper clips and another smaller bottle with odds & ends. I also covered the Front Panel and top back with a range of cogs from our Cog Pack 1 & Cog Pack 2. Plus our new Corner Cog Pack. I stuck 2 on the front and the other 2 either side. All of the cogs where sponged with Black Acylic then rubbed with Viva Inka Gold Paste: Graphite, Silver, Yellow Gold, & Brown Gold. Each was also topped with heads cut of Brads. The Moustache is from our mdf Disguise Kit and also featured are 2 of our Buttons The Ink Bottle and Light Bulb. I coloured the ink bottle contents & lid with Black Pen and applied Glossy Accents to The Glass Bottle Part (not Lid) and Glass part of Bulb.
Save
Save
So finally here it is.... pictured next to the Cabinet of Steampunk Curiosities..... don't they make a fabulous pair!!