Santa’s Little Helpers
are all busy in the elves' workshop making toys for delivery, don't you just love crafts people :-))... sorry crafts elves!
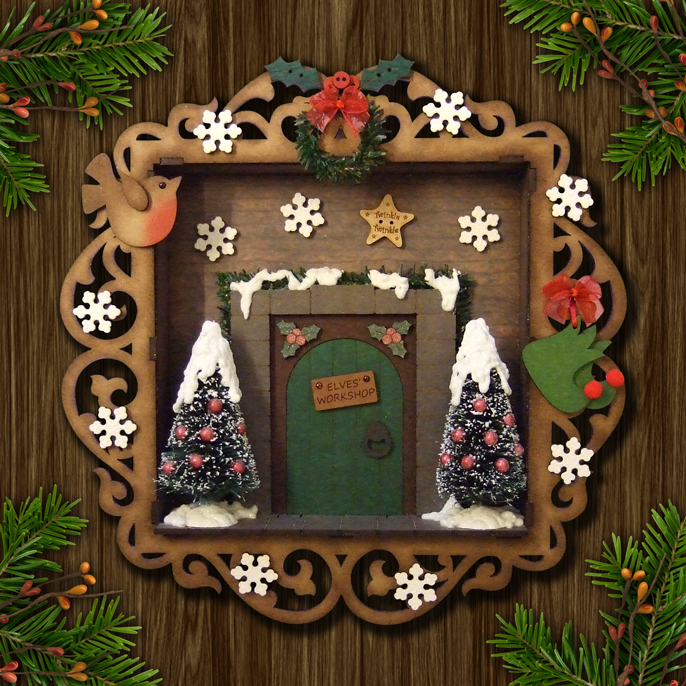
This Shadow Box is probably one of the quickest frames I've made. First ink all the pieces around the edges with a sponge and Ranger Distress Ink Walnut Stain. The background was a Texture Wall Background download HERE. Many people have asked where I have obtained a lot of my small brick backgrounds from, many I have used are available at jennifers printables which has a great range of miniature backgrounds all available as free downloads :-) Assemble the Shadow Box and add all the other pieces. The Elves' Workshop Door was simply coloured with felt pens. Two coats generally works best, the more colour you add the better depth of tone you will achieve. I used a Clear Glitter Pen over the Holly pieces to make them Sparkle. The elves sign has two 3mm head brads, coloured with Dark Brown Sharpie, added in the holes to make it look like it has been nailed onto the door. I've also added a sprinkle of Snowflakes, a Robin, Elves' Shoes coloured with a bright Green Sharpie and two small Red Pom Poms added to the toes, Holly Button Left Leaf & Right Leaf, Mini Round Buttons, a Twinkle Star Button, two Bottle Brush Trees to which I added Red Beads for Baubles, Strips of Fir Tree which were bright green, I brushed my Brown and Green Sharpie pens over these to make them darker :-) and formed one into a ring to make a wreath. In America it seems you can buy any product, any size, any colour that you want.... why are things so limited in this country? maybe that is why the good Lord invented Sharpie Pens so you can at least adapt and re-colour items for your projects :-) A couple of Red Bows and a sprinkling of Snow Writer enhanced with Glamour Dust "Crystal" and your good to go!