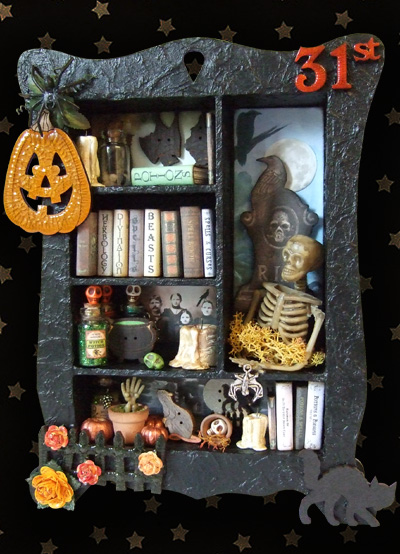
Cabinet of Halloween Curiosities
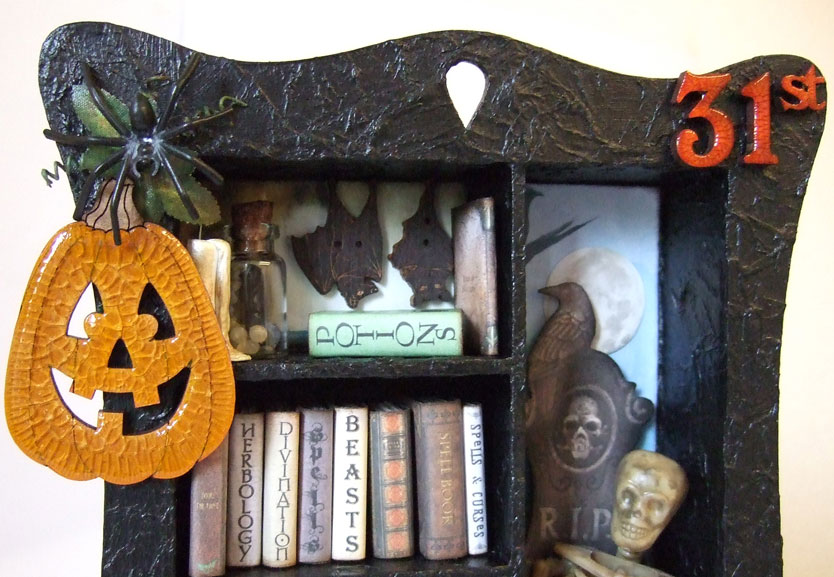
Our Cabinet of Curiosities is a free standing Shadow Box. For our first Cabinet project I thought Halloween would be a perfect theme.
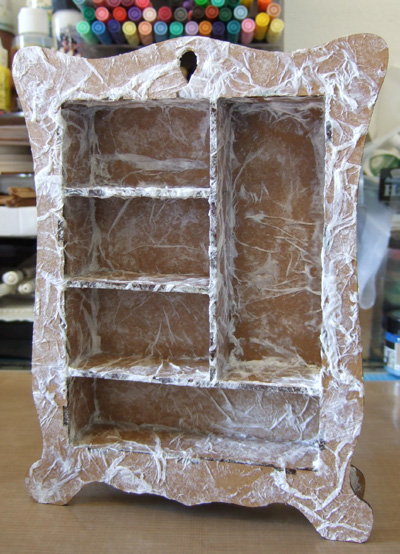
I've loads of ideas for these boxes but took Halloween as a starting point. I firstly assembled the cabinet, (Assembly Guide HERE), using PVA glue. Once dry I covered the entire Cabinet with Tissue Paper. Using tissue from the toes of a new pair of shoes! (is this a great reason for buying more shoes?!) simply open it out a bit and working in sections paint on Mod Podge, add Tissue and then more Podge on top, use the brush to push in the creases and simply pull tissue away at the sides. Once the whole box is covered completely paint in Black Acrylic Paint, 2 coats, allowing to dry between each.

The small Bottles were easily decorated with tiny Skull Beads. I used an earring pin cut to size, then simply pushed through the top of the bead & into the cork, little Labels were printed up and finally some thin string tied around the necks. Apologies to all you fantastic fimo artists... as these candles were my first attempt at fimo. I used no bake Fimo Basic Air Dry. I didn't have translucent clay, so simply brushed each with Pinflair Buff-It in "Antique Silver" and a little touch of Buff-It "Copper" and set aside to dry.
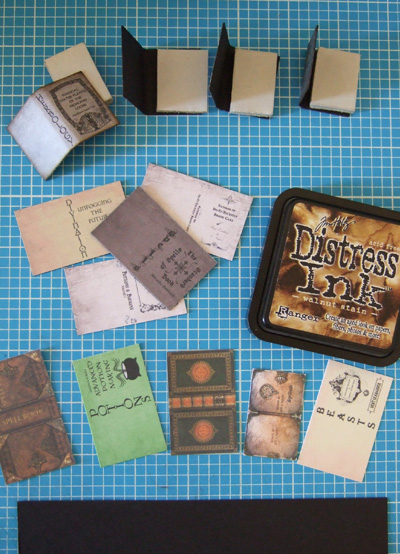
I had great fun making the Faux Books, using the following youtube video as a starting point by Dale Fluty, I adapted the technique slightly, sticking my book covers on to Black Card with double sided tape and sponging the edges with Tim Holtz Walnut Stain, before sticking onto card centres, in fact I enjoyed making them so much I made 14!!!
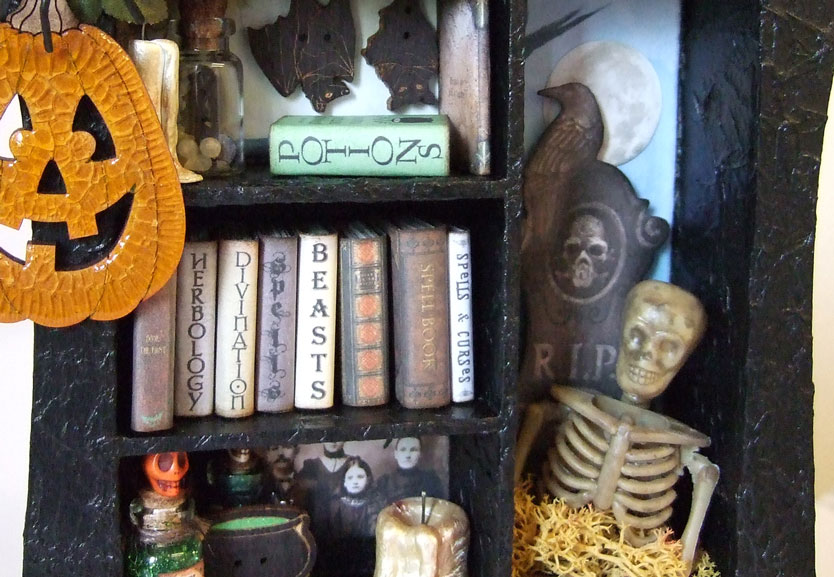
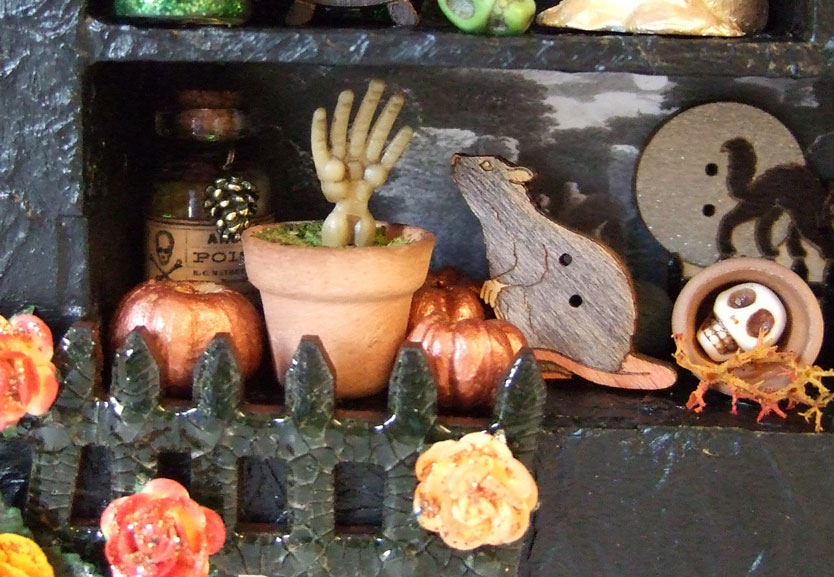
The pumpkin patch on the bottom shelf was created with seed heads brushed with Pinflair Buff-It Copper.
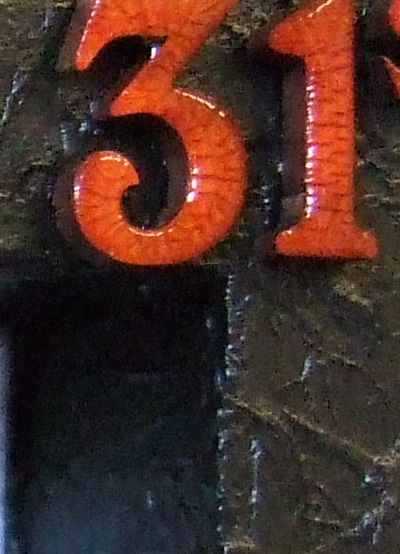
All the MDF Halloween items where from Halloween Pack 1 & Pack 2. The pumpkin was coloured with Sharpie Light Orange I rubbed a little Tim Holtz Rusty Hinge Stain along the lines & around the edges then once dry added a generous layer of Ranger Crackle Accents. The "31st" was decorated the same except I used a Dark Orange Sharpie. The Cat and Fence where both coloured with Black Sharpie, then the fence was Crackle Accented.
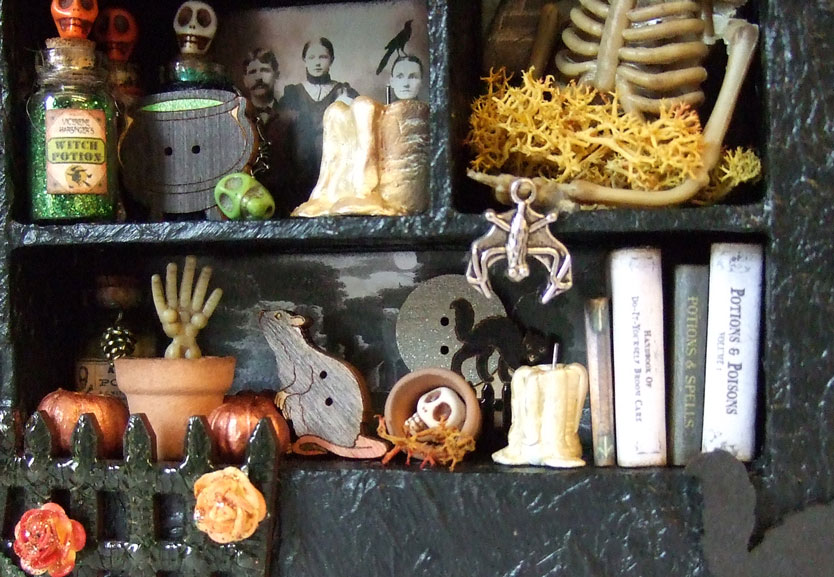
I've used several of our Halloween Buttons, Two Bat Buttons and the Cauldron Button are all coloured with Black Sharpie, the Cauldron "liquid" is green stardust pen. The Rat Button is coloured with Dark Grey Sharpie and Pink and finally the Cat on a Fence Button. I coloured the Cat Black with a Fine Black Pen, the Moon is Stardust Silver and the Fence Black with a little crackle Accents to match the larger fence.
.... so finally with a few other little bits & pieces.... all done.