A Little Batty
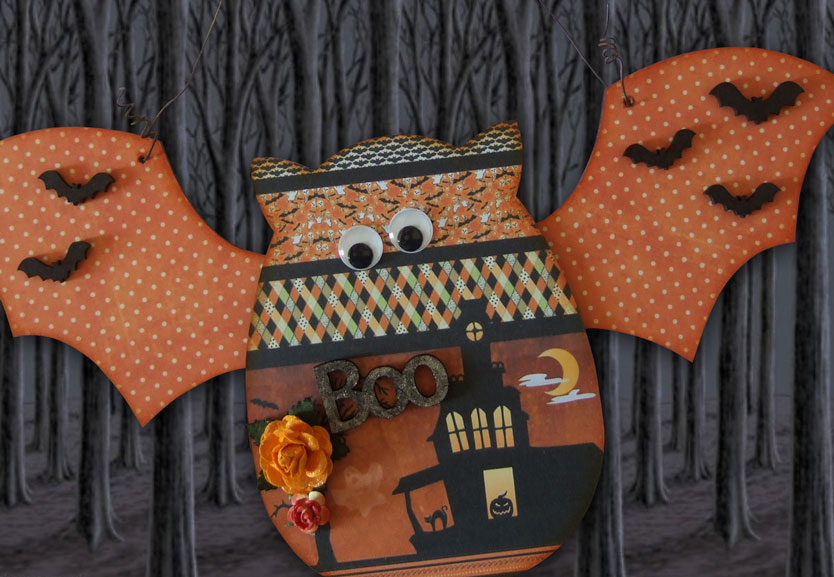
Batty Boo was covered in paper sourced and printed off the internet. I made some slight adjustments and sized to fit. Please email us if you would like a copy of this to make your own. I used double sided adhesive sheet to apply the paper as it is quick, but you could just as easily mod podge the paper on and trim after the paper has dried. I inked all the edges with a sponge dabbed on to my Tim Holtz Distress Ink pad Rusty Hinge. I layed him out on my cutting mat using the grid lines to space the wings out evenly to glue the body on. Place another piece of mdf under Batty's body to support him while he dries. I stuck his wings on with Crafter's Pick The Ultimate, leave to dry overnight. Meanwhile, prep your other pieces. I used "Boo" & 5 bats, 1 Large, 4 small from our Halloween Pack 1. The Bats & "Boo" are all coloured with Sharpie Black, 2 coats. The "Boo" was additionally coloured with clear stardust pen. I've also added a couple of paper flowers and Rusty wire for hanging up. Batty comes with two MDF eyes, in case you are unable to use Wobble eyes, but I think the Wobbly eyes work best, mixed sized packs of these are readily and cheaply available online.


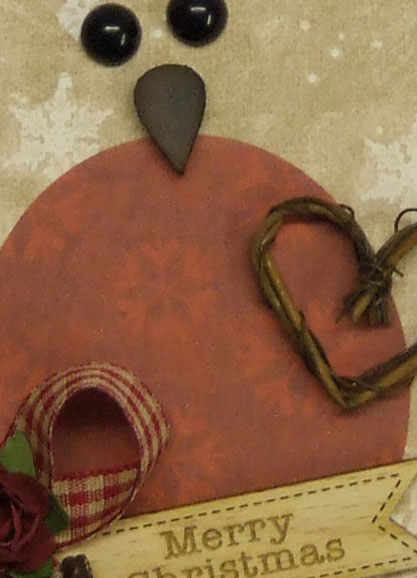
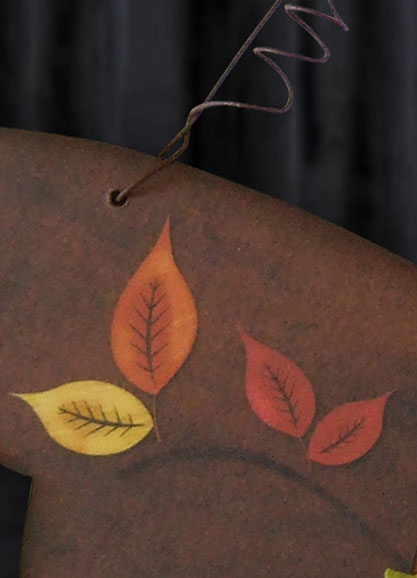
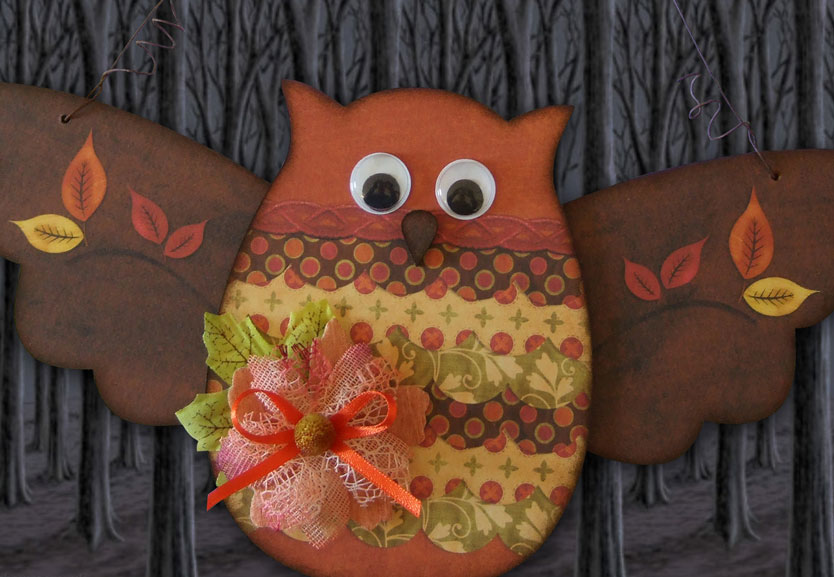
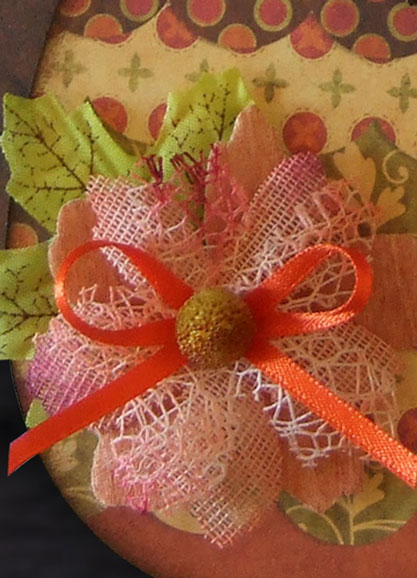
Hooty next, again covered in downloaded printed paper that I layered up to create a feather effect (please email if you would like a copy). All edges inked with Tim Holtz Distress pad Walnut Stain. I used large Wobbly Eyes, Rusty Wire and Autumnal Silk Leaves & Flowers, topped off with a bow.
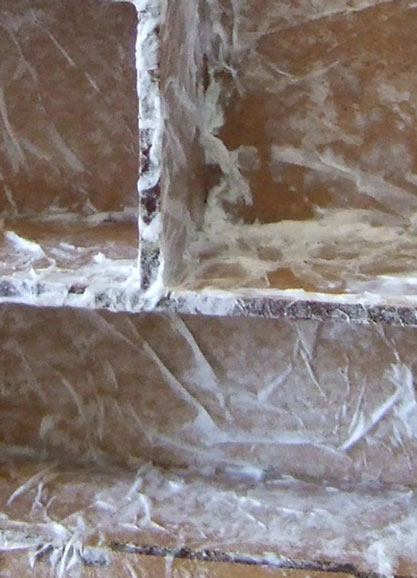
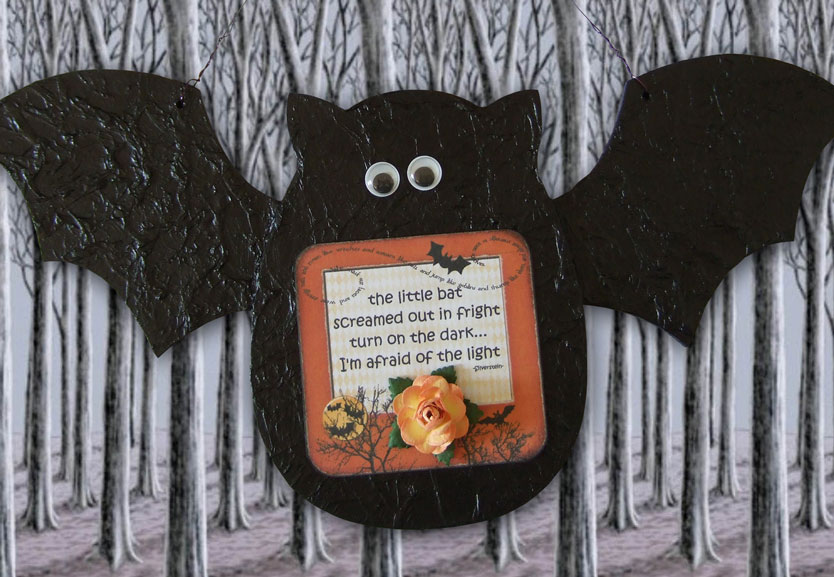
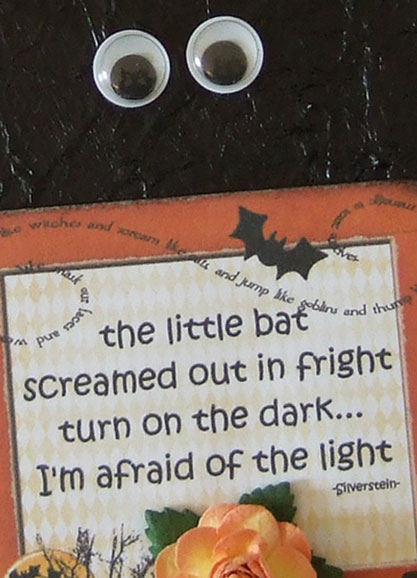
....... and finally another Batty. The verse is available at pinkpolkadotcreations.com which has some great free printables. I just loved this and thought it would be perfect for my Batty. I sized the centeral section to fit his tummy and printed then sponged all edges with Tim Holtz Distress Stain Black Soot. In my enthusiasm to see him finished I forgot to take a picture of him before painting! oophs sorry. Basically I stuck him together then using tissue paper, (saved from inside the toes of new shoes!!).......(excellent as already scrunched up!!) open it out a little and using mod podge & a decopatch brush I put a layer of podge, added the tissue, then brushed another layer of podge on top, work in sections, creating texture, overlap excess onto the back. Below is an image of this technique, I used exactly the same method when covering my Cabinet of Curiosities... & remembered to take a piccy. Once this has dried thoroughly paint the whole thing with Black Artists Acrylic Paint. I usually do two coats. And thats it! Then add Saying, small Wobbly Eyes, thin Wire & I added a Paper Flower for good measure! Done.
..... sneak peek ..... coming soon!