
When the Red Red Robin goes…..
Bob Bob Bobbin' along!! These little Guys proved hugely popular at the NEC.... and all bobbed off!
They are so quick & easy to decorate it's frightening!!
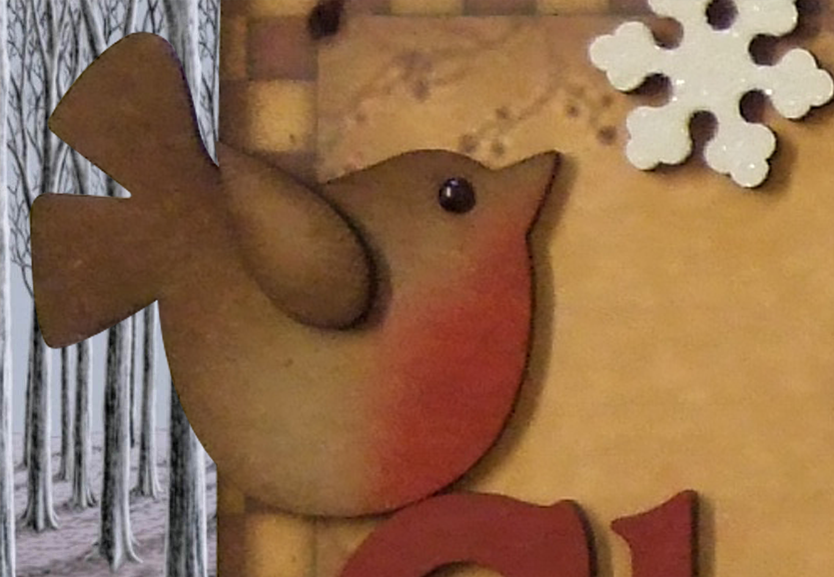
I use household sponge scourers when I sponge all my edges and they worked great for these. Simply cut a chunk of foam off the back, dab on to a Ranger Distress Ink Pad Walnut Stain and sponge very gently around the bottom edge and then build colour with the sponge along the top edge and tail, see image as a guide. Next ink all around the wing with the Walnut Stain as before. When you are happy with the result cut another piece of foam and dab on his red breast with Ranger Distress Ink Pad Festive Berries. I store the foam individually in grip seal bags and can be used again & again & again..... Write on the bag with your Sharpie so you know which is which :-) You can leave his eye as is, but to really bring it to life, colour a tiny Silver Brad (approx 3mm top) with a Black Sharpie. I stand it up in a bit of blue tack to support it while I work & it also helps hold it when I've finished, allowing it to dry and harden. When dry cut off the legs to about 3mm with a pair of pliers, pop it into the hole and poke a bit of glue in from the back with a cocktail stick, wipe off excess.... stick on his wing and your done :-)
I used these Robins to great effect on my Elves' Workshop Fairy Door Shadow Box & also attached one to my Cabinet of American Prim Curiosities. I think they would would work equally well, on a simple card. They are available in a pack of 4 Robins, or 1 is included in our Birds Pack........ and also in our new Merry Christmas Sign Pack...... take your pick.
p.s., you will end up with inky fingers doing this, so if your off out somewhere special afterwards it would probably be better to wear gloves :-)