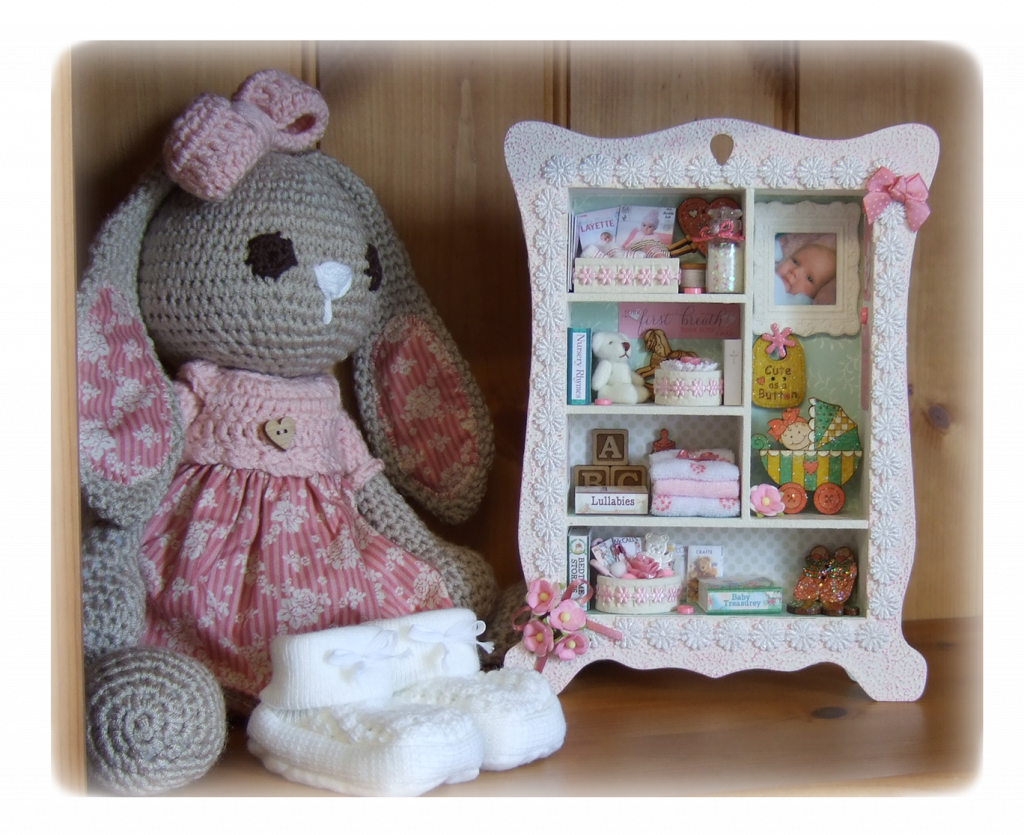
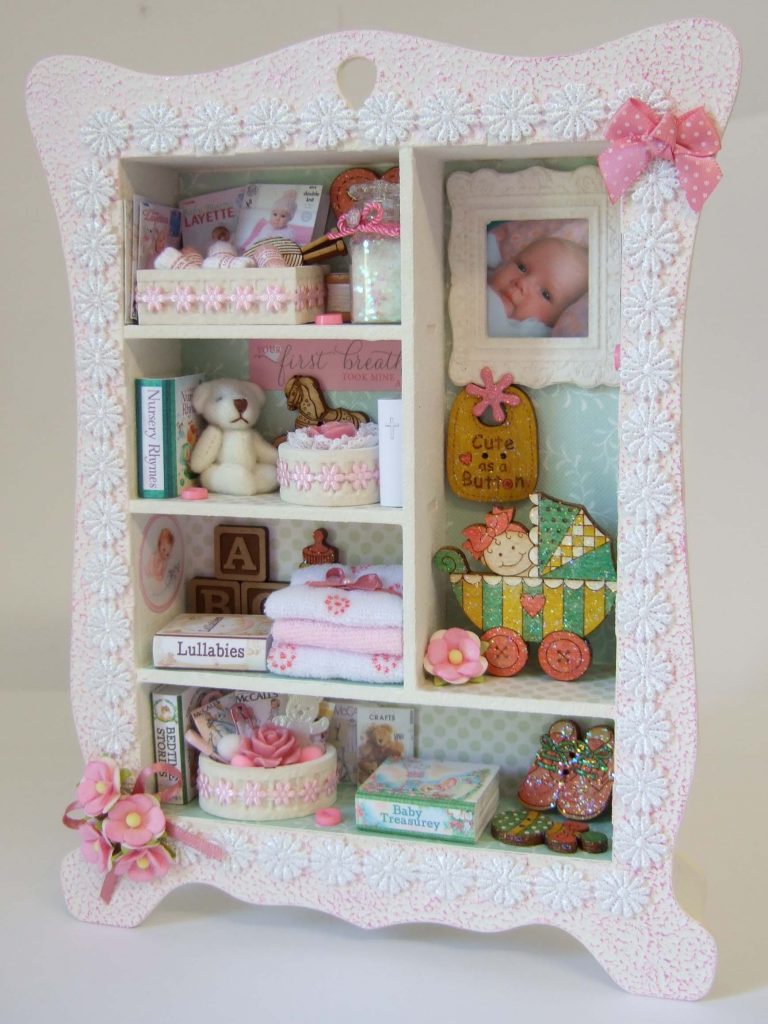
Baby Girl Keepsake Cabinet
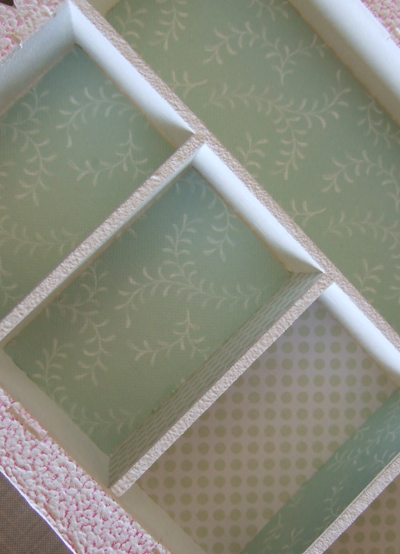
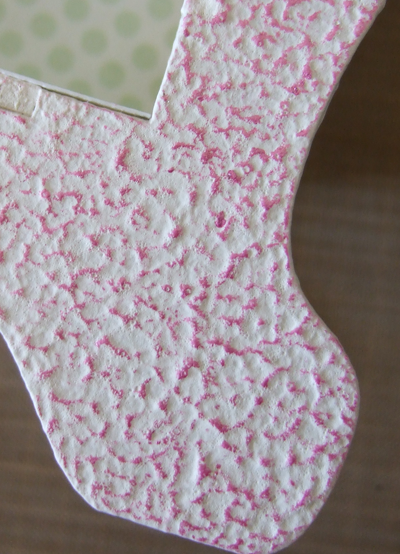
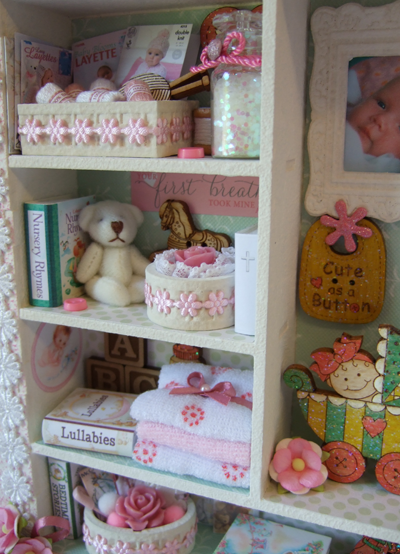
This gorgeous little Cabinet would make the perfect Keepsake for the arrival of a new Baby Girl or a Christening Gift. To prepare, first assemble the Cabinet of Curiosities then paint with 2 coats of White Gesso. I use a brush to get in all the corners and edges and apply the rest with a sponge dabber, if you go over the whole piece including the brushed areas with the dabber it creates a lovely mottled effect. To create the delicate pink effect on the front I simply rubbed on some Viva Inka Gold Paste in "magenta", you only need the lightest touch, build the colour onto the piece rather than putting a load on at once, the best method being to apply it with your finger. I then lined the back and top of each Shelf with paper from the Lillibet "A tale of friendship" 12 x 12 Designer Paper Pack. Alternating the papers for a pleasing effect.
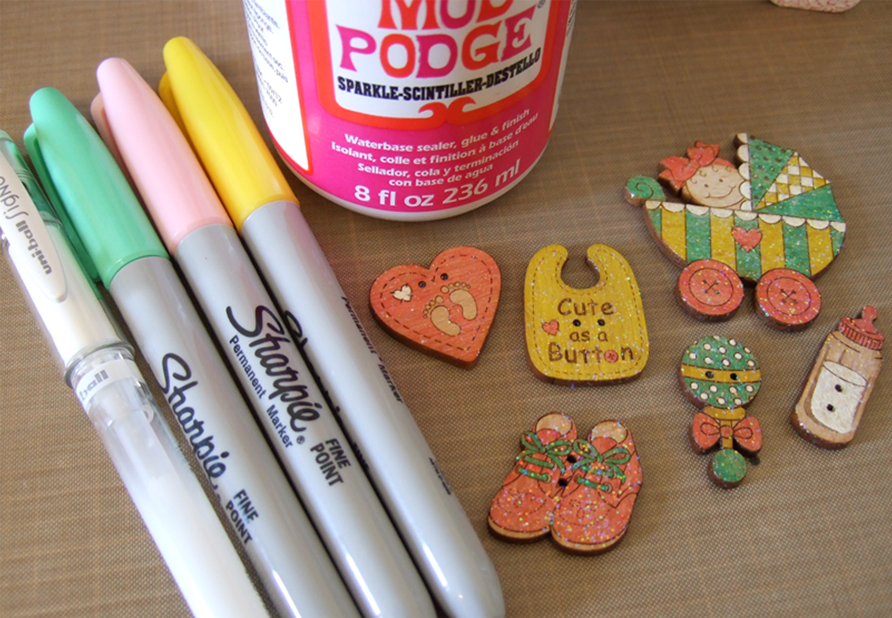
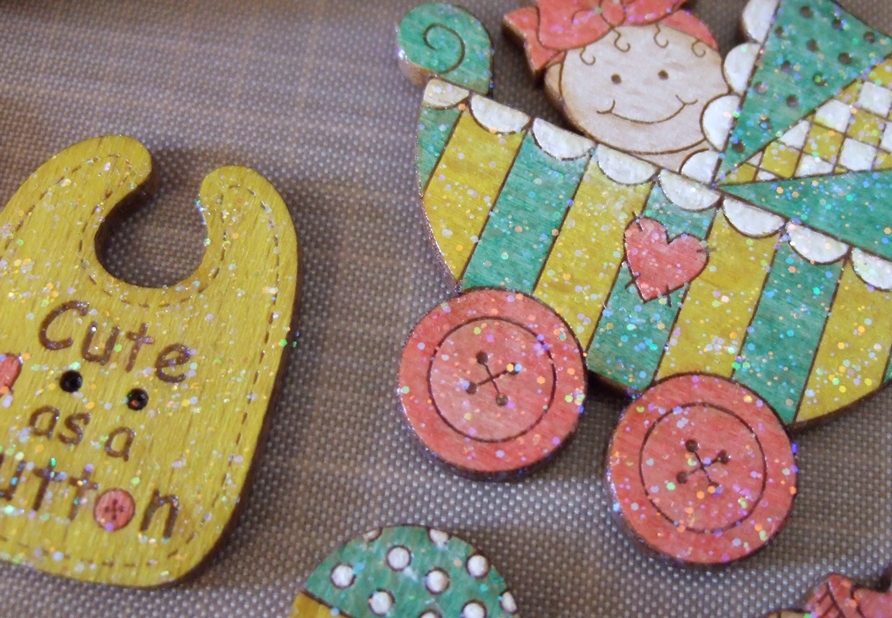
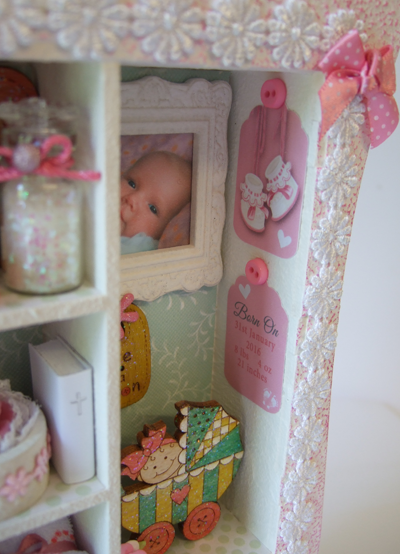
I have included the following Buttons in the Cabinet: 935 Wool & Needles, 806 Heart Baby Feet, 168 Rocking Horse, 803 Babies Bottle, 805 Baby Shoes, 794 Babies Bib, 804 Babies Rattle, and Cut-Out: CO-808 Baby Girl in Pram. Each of these, I have coloured with the 3 Sharpie pens & Signo White pictured, then coated with Mod Podge "Sparkle", Except the Rocking Horse Button which I left in its natural state & the Wool & Needles Button. I coloured the Wool with the White Signo and left the needles again the Natural Wood colour.
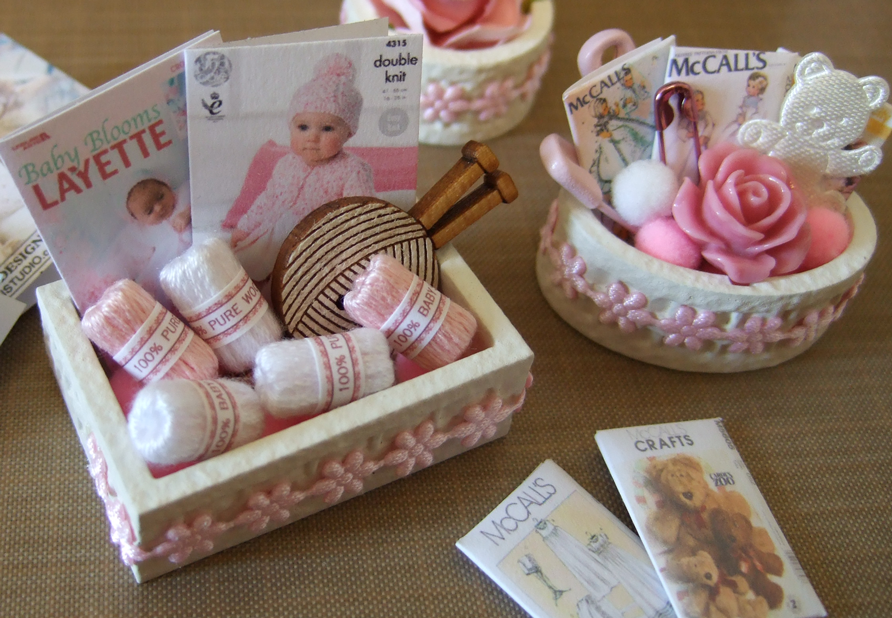
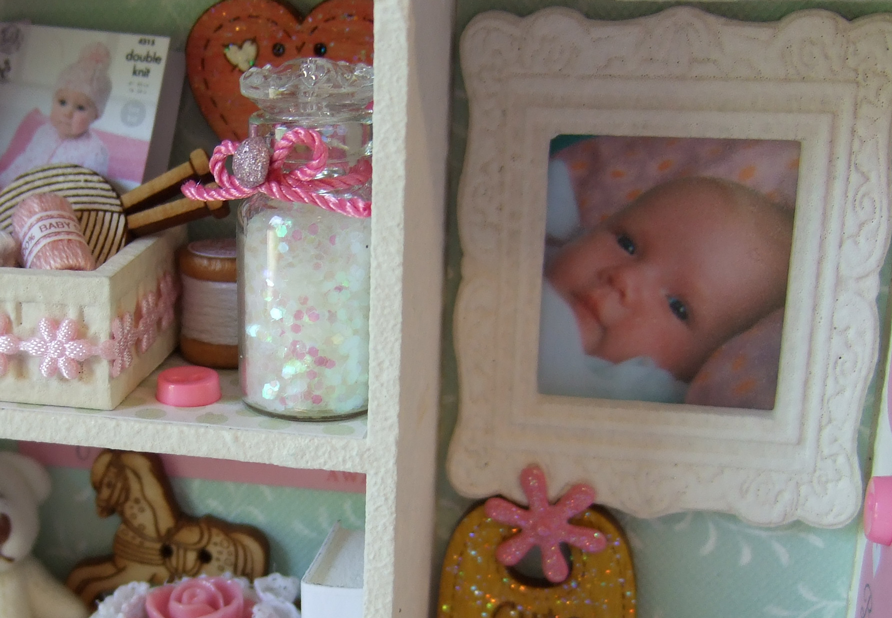
The Miniature Baskets Pack was assembled, (omitting the handle on the oval Basket) then given 2 good coats of white gesso. I have stuck tiny pink "Flower Ribbon" from my ribbon stash around the edges of each of the baskets. Then filled with Printies (free downloads..... at end of post :-)) little Wool Balls made as per the instructions for the Shabby Chic Sewing Cabinet, Lace, Resin Flowers, Pink Safety Pins, a Fabric Teddy cut from some Teddy Ribbon and some Tiny Pink & White Pom Poms all from my stash. The Baby Picture has been added to our Mini-Frame MF-1, which was also sponged with 2 coats of White Gesso.
At the bottom of this post you will find the Mini Book Cover Printie's, vintage images, and 2 Tags one of which you could add baby details on to. Details on how to make up the books are in the Halloween Cabinet Blog Post. When making these books I sponged Gesso around all the edges to hide the grey edges of the Grey Board.


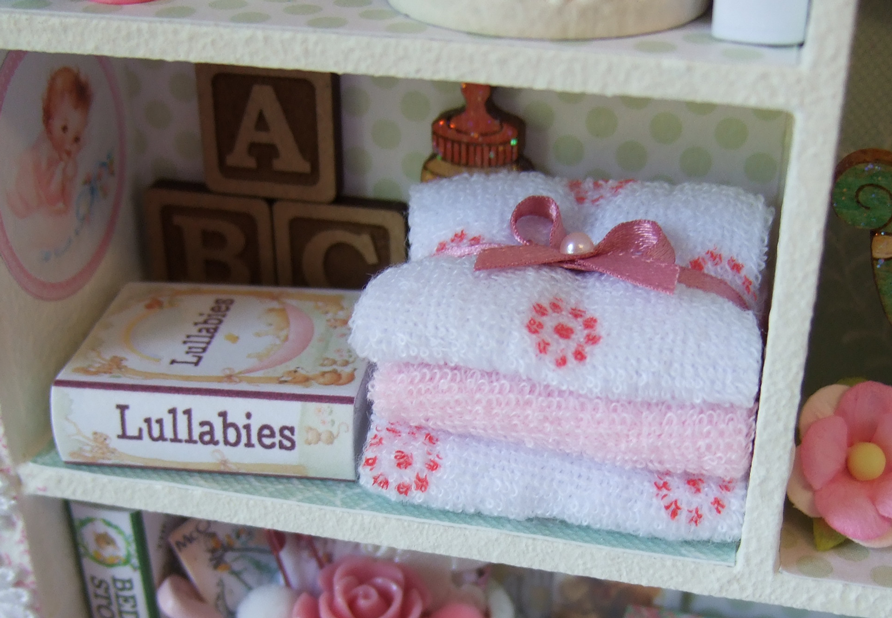
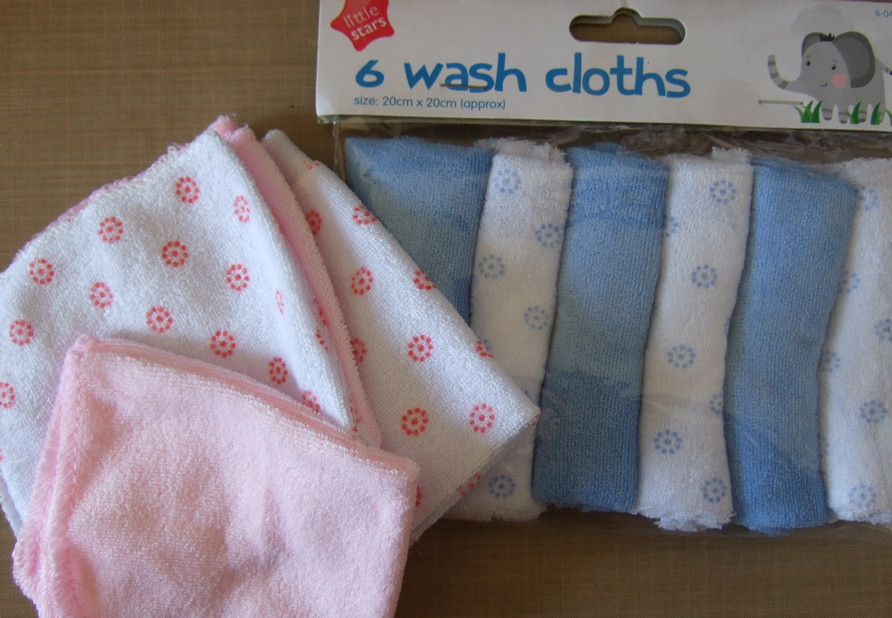
The cute little Towelling Bundle I created from Baby Terry Wash Cloths, purchased from ebay they come in a pack of 12.... 6 Pink.... 6 Blue for £2.99 delivered! I simply cut them into strips 6cm wide by 10cm long approx. I Folded in the long edges towards the centre & secured either end with a stitch. Next Fold in approx 25mm in each end then fold in half, and again secure at back with a couple of stitches. I wrapped some Pink Ribbon round and stitched at the bottom and finally created a mini Bow and added a Tiny Adhesive Pearl.
Other little Details included are Some Mini Cotton Reels wrapped with Embroidery Thread and 2 Heart Headed Pins pushed in the top, (reel labels on printie), a Jar of Glitter with the Cork Removed and a Vintage Glass Button stuck on to form the lid, bow & head of a Sparkley Brad added as a finishing touch and a Little miniature Teddy purchased on-line.
This Little Cabinet was a joy to make. Finishing touches where some Lace "Flowers" stuck around the front topped with Paper Flowers, & Ribbon Bows. TOO CUTE! ..........
Links for the Free Printable PDF's for the Baby Girl Keepsake Cabinet are below.
I printed all these on 160gsm Card. The Book Covers, were then additionally stuck onto heavyweight Cream Card.